While I was making some shrink plastic charms for my jewellery projects a few weeks back I took some before and after photos. The photos are not the best quality as I was using my cell phone camera to take shots as I went.
My first encounter with shrink plastic was as ‘Shrinky Dinks’ in the early 1980’s. Kiwi kids of that era may remember the illustrated keyring charms that came in cereal packets. Watching the plastic shrink and harden in the oven almost instantly was quite magical, and I confess, still a lot of fun today.
The process:
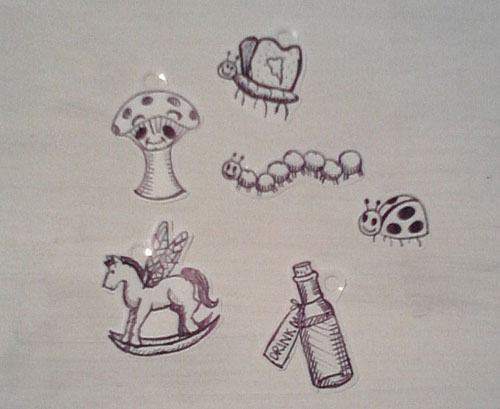
Using a sharpie I draw directly onto the surface of the plastic after it has been lightly sanded. This does not leave much room for mistakes! I then carefully cut round the drawing with a pair of scissors, and make a hole if the charm is going to be strung on a necklace. The charms will shrink up to two thirds of their original size when baked, so take this into account when designing your charms!

Here is another photo of the charms with a sharpie placed underneath so you can get an idea of their size before baking.
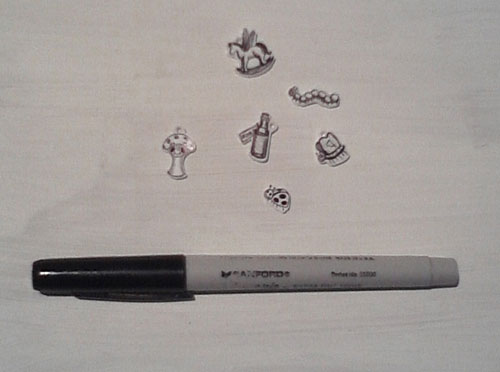
Here are the same charms photographed after baking with the sharpie placed underneath for size comparison. You can see how much they have shrunk in the oven!
I am making a series of Alice and Wonderland charms, and they will be available in the Squibble & Co. Store soon!